Convert SQL Server to Oracle
Full Convert is designed for ease of use and reliability. Get the migration done quickly and simply, without surprises.

Making migration easy for you
Full Convert is a fully self-tuning software. Your migration will work as expected without you needing to adjust anything.
Data types are different in Oracle compared to SQL Server . We automatically adjust them as we copy the tables so you don't have to worry about it. You can adjust the mapping rules if you wish to change the following defaults:
Full Convert migration in 4 easy steps
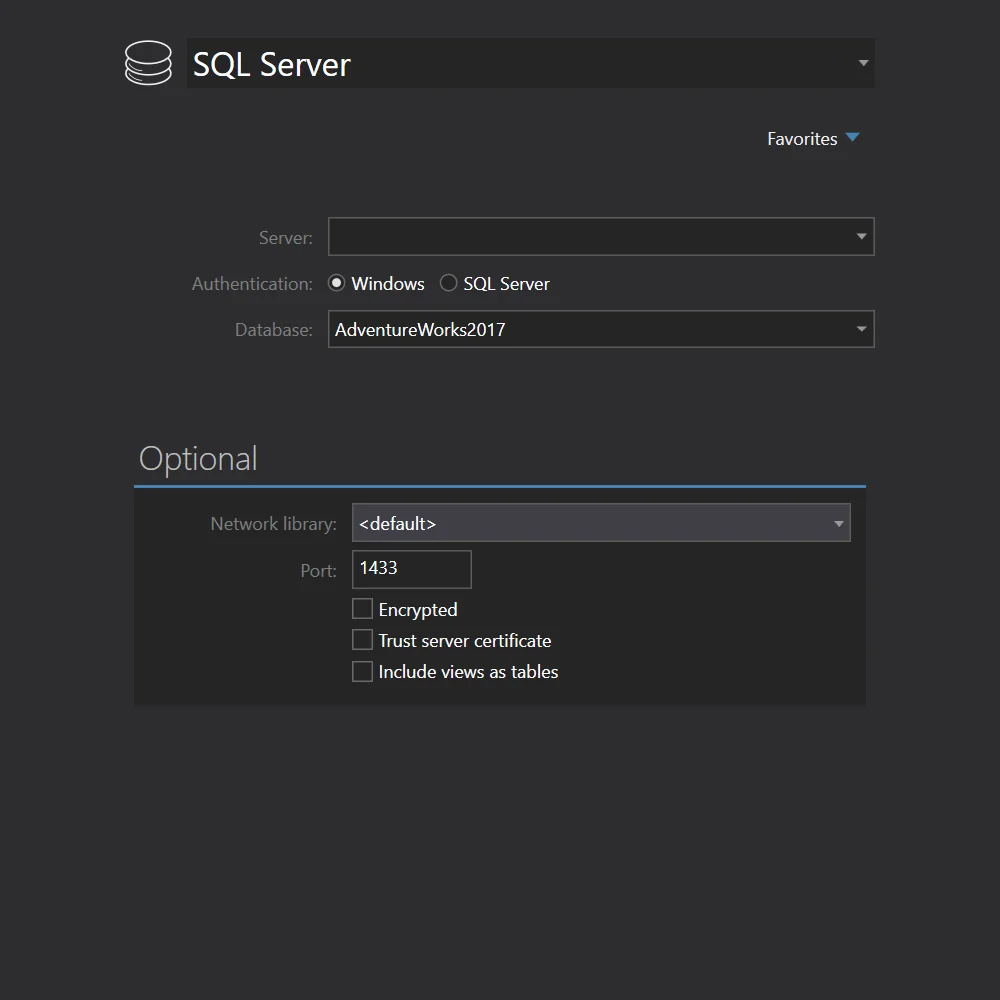
SQL Server
We will choose SQL Server from the list of available source database engines. Depending on your SQL Server setup, you will need to connect using Windows or SQL Server authentication. Depending on your SQL Server installation, we need to specify the server name, or server\instance name in the Server field.
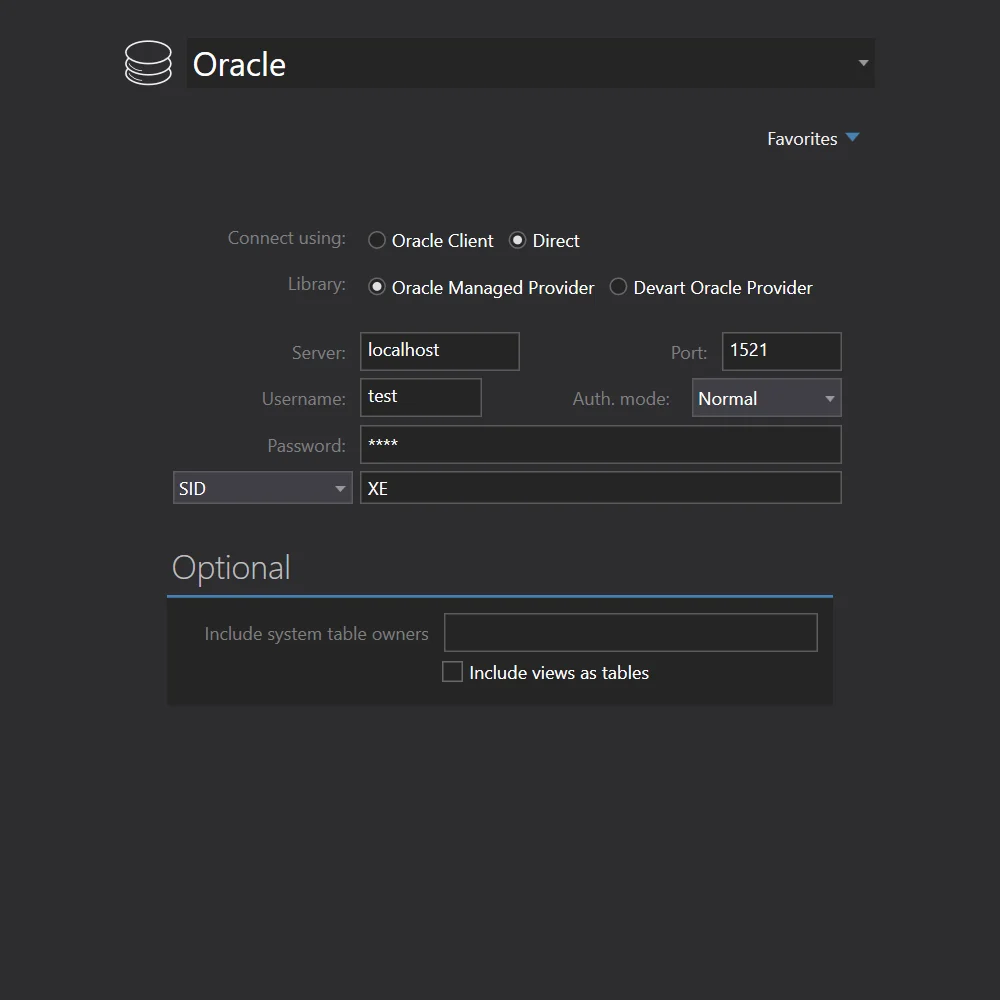
Oracle
We will choose Oracle from the source database engines list. We can connect to our Oracle in two ways. If we have Oracle Client installed, simply typing the service name and specifying login info is all we need. However, when you don't want to install 100MB+ of OCI installation, we have a nice surprise! We can connect to Oracle using a direct TCP/IP connection. No OCI required. In addition to database name and login info, we would just need to specify server name or IP - and done.
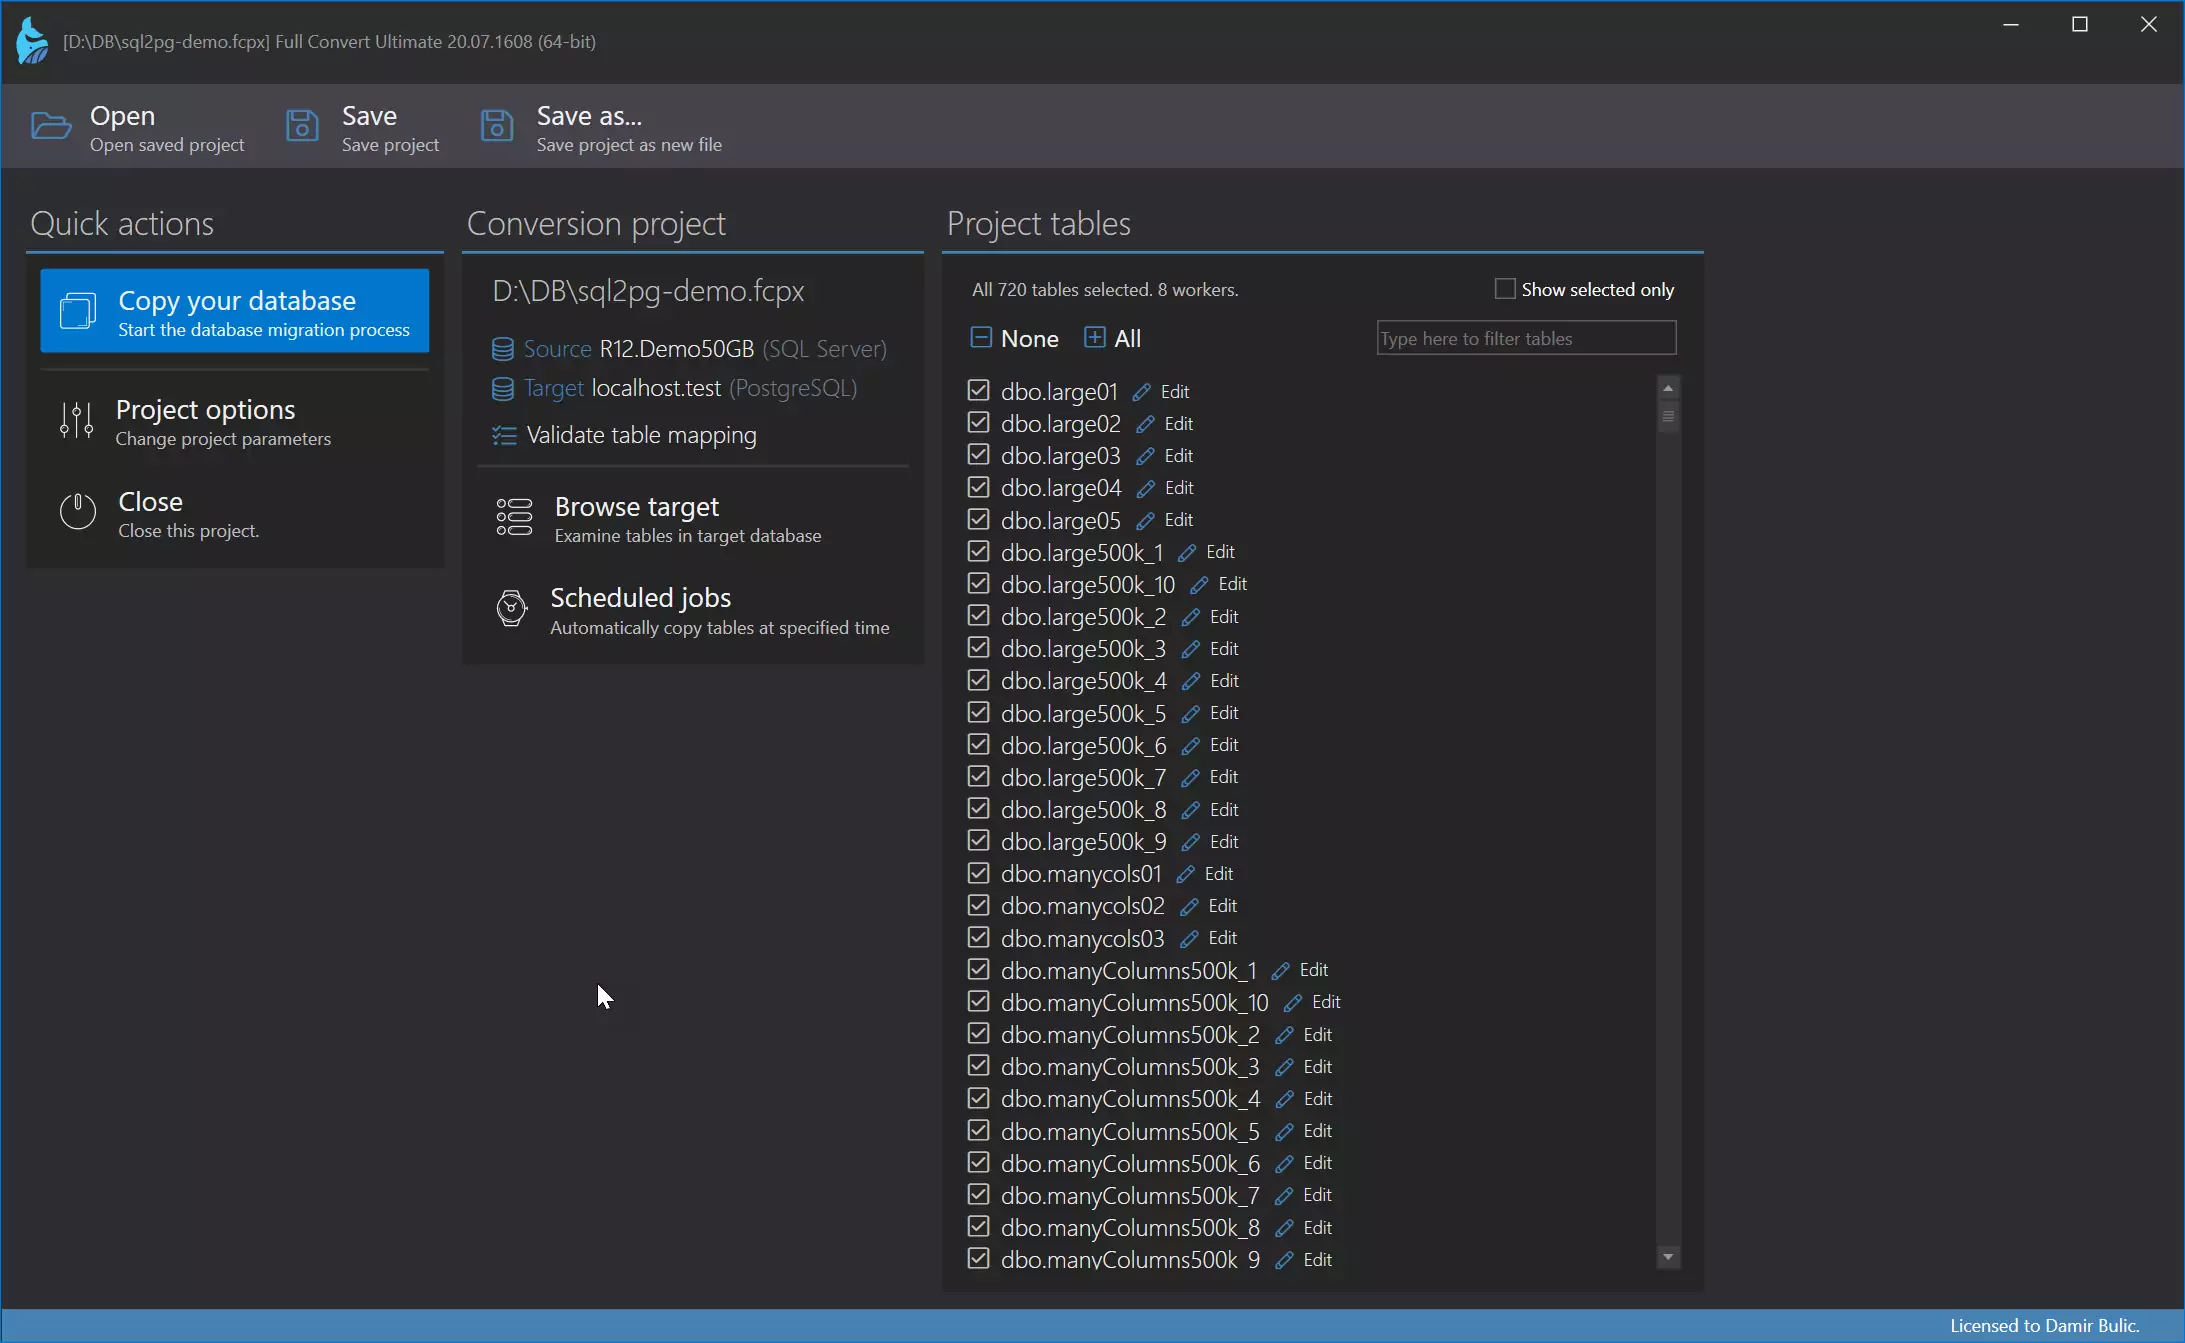
Start the conversion
All source tables are selected for conversion by default. In case you only need some tables, simply deselect the ones you don't need - or deselect all, then select just the tables you do need. Click the Copy your database button to get started.
Click the Copy your database button to get started.
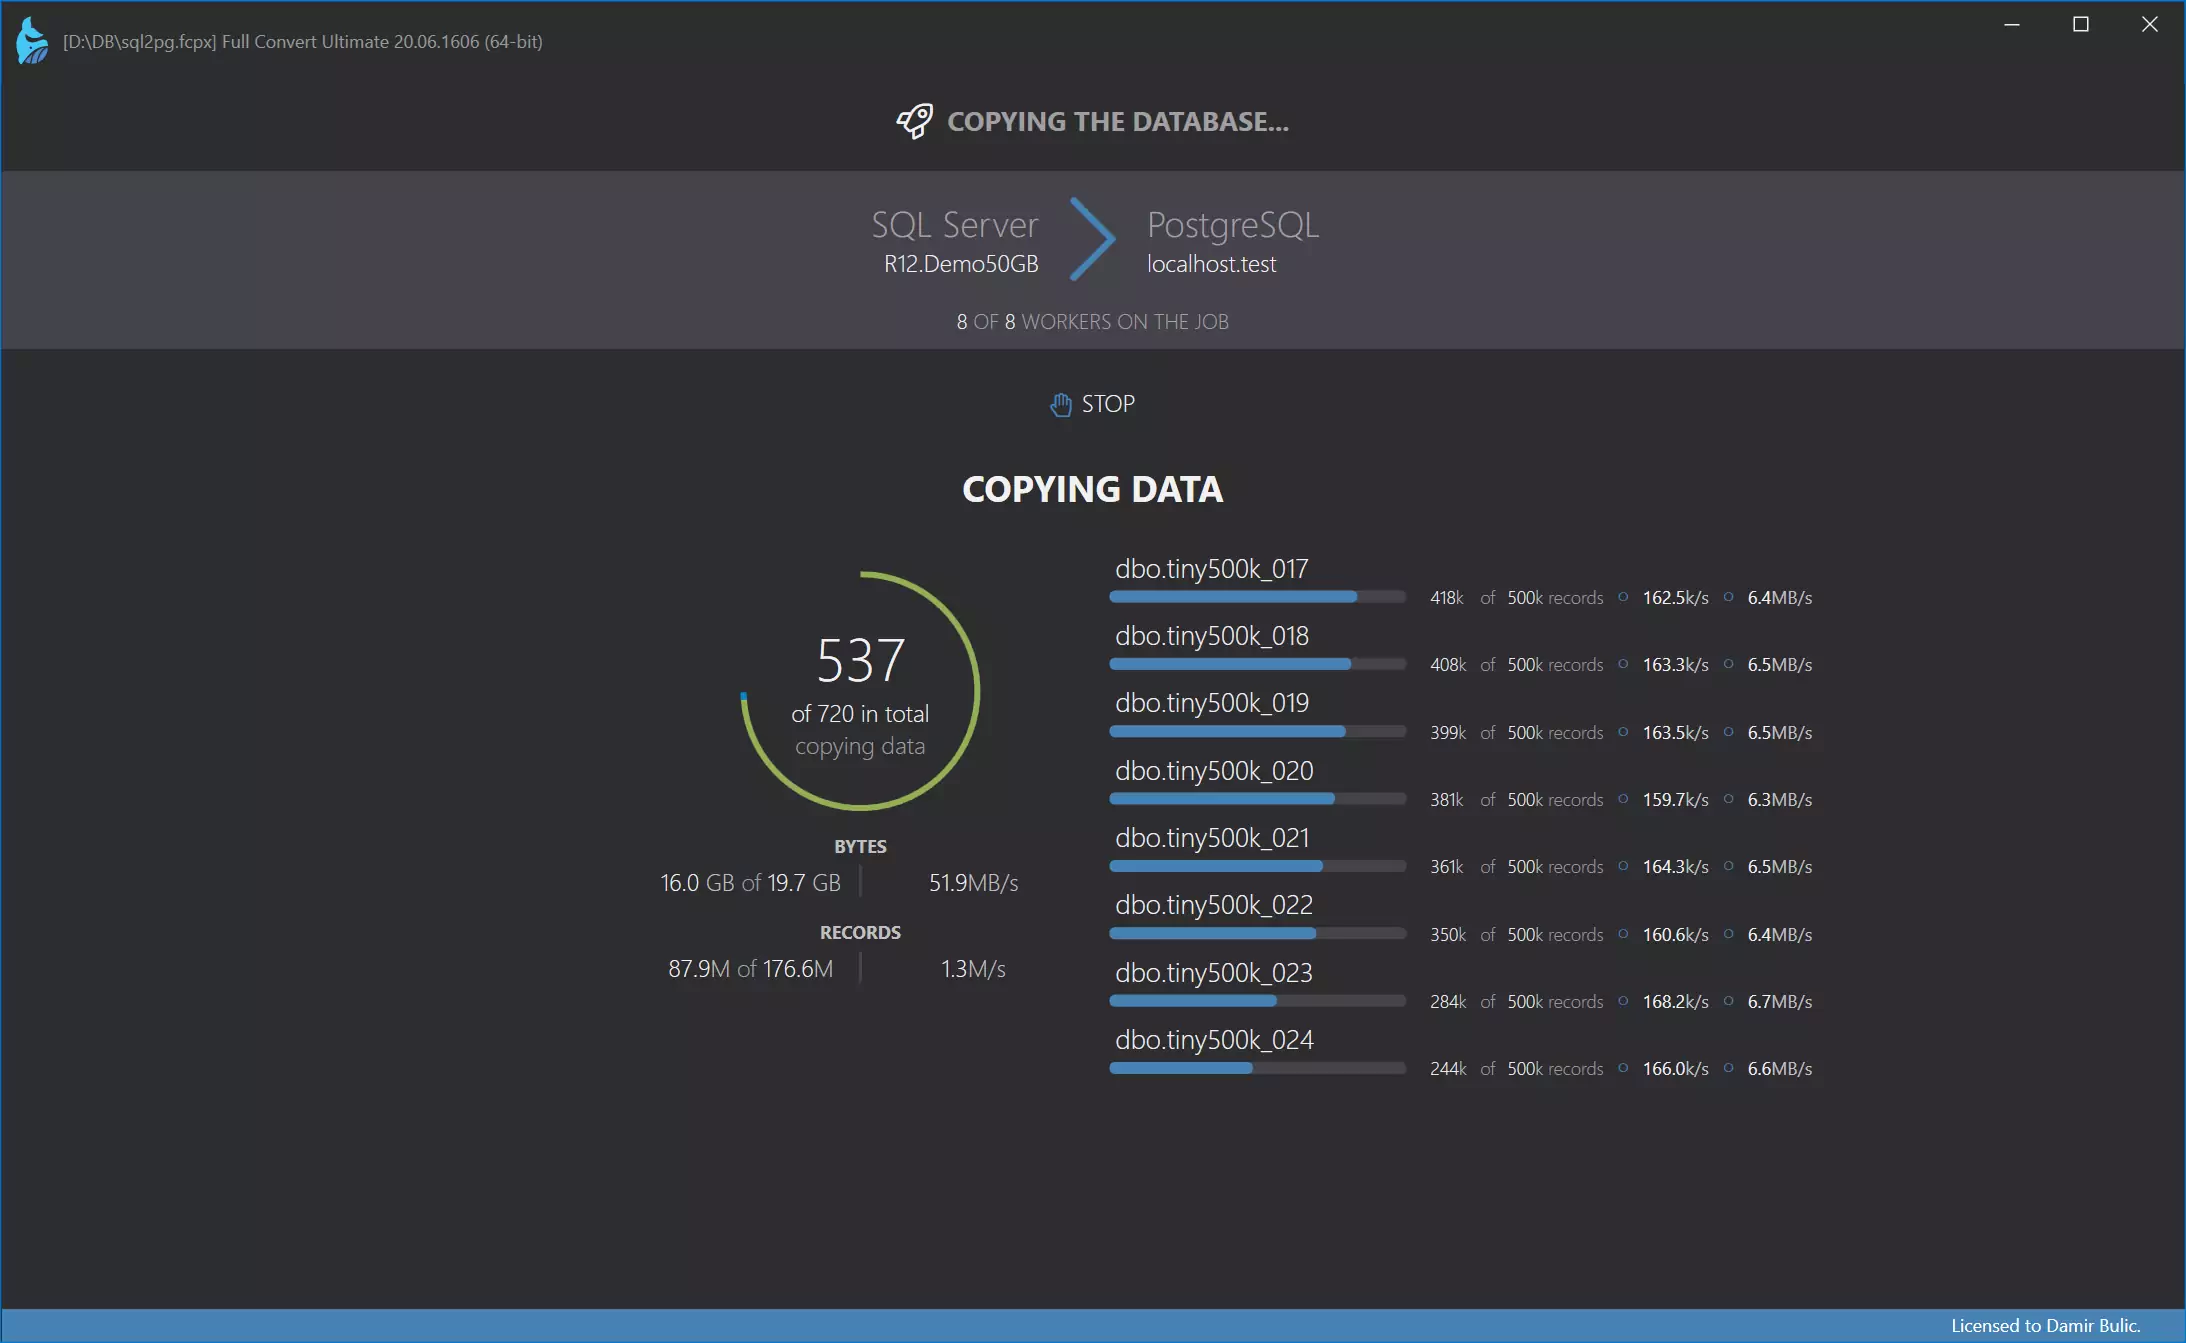
Conversion
Conversion is highly-optimized to run as fast as possible, yet provides top-notch reliability. Huge tables are converted in small chunks at a time, preserving memory and ensuring that your computer stays fast and responsive.
Data is now in the target database
Use our built-in database browser to examine the copied data.
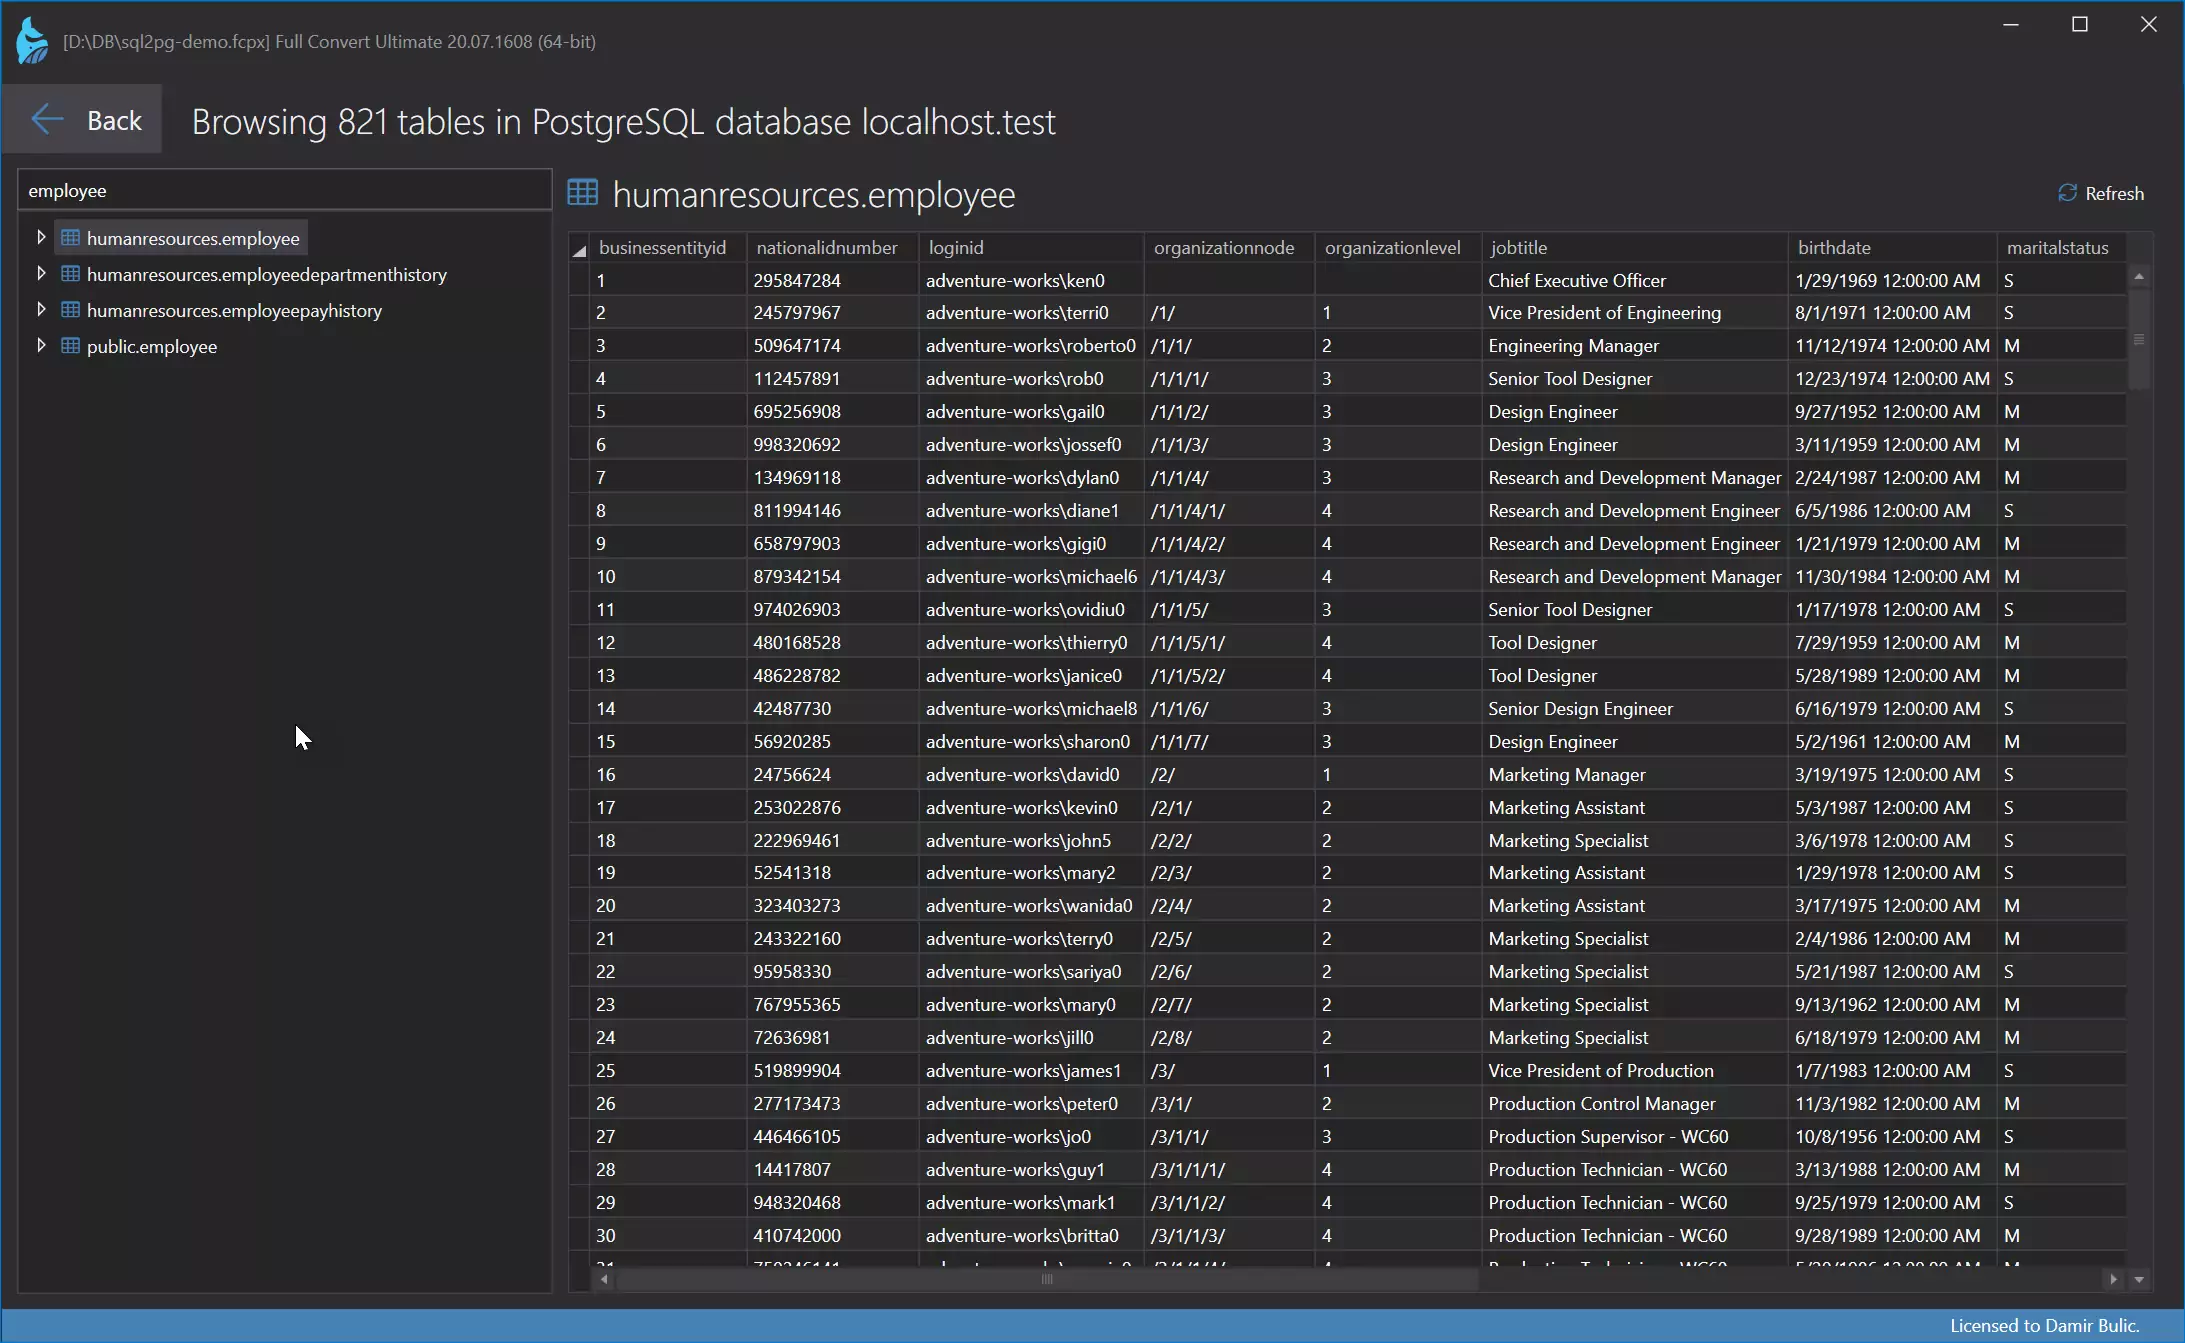
Of course, you can also examine the conversion in detail and see in-depth information for each table.
Migrate your data now.
Full Convert is used by thousands of
organizations in 100+ countries.